Installation and Care
Check out our complete and in depth brochures to help you grow like a pro. They are all made to make you the most successful with Professional Turf’s fresh sod.
- Turfgrass Installation / Preparation Brochure
- Turfgrass Area Calculations Brochure
- Turfgrass Fertilization Brochure
- Turfgrass Watering and Care Brochure
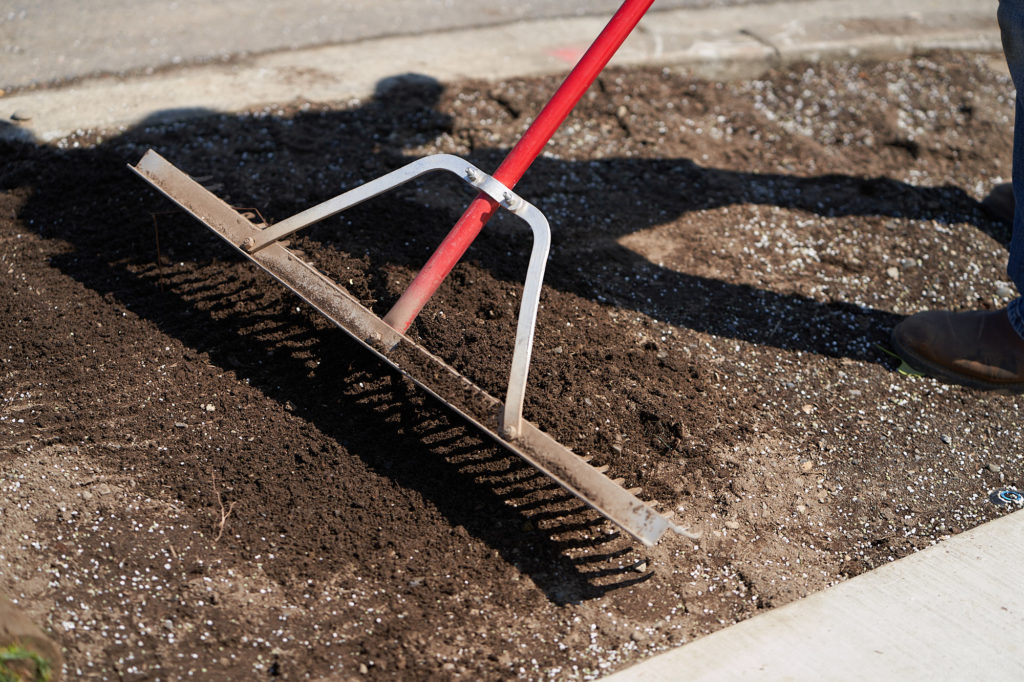
Step 1: Site Preparation
The area to have sod installed should be cleared of debris and any existing vegetation. Sub soil should then be loosened to ensure good drainage besides having at least 4 to 6 inches of good topsoil condition. If unsure about the quality of the soil conditions then take a soil sample to a Laboratory type business for analysis. Business listing in the yellow pages of the phone under the heading of “Laboratories” generally can provide this type of service. Washington State University Extension Bulletin 0482 is an excellent reference for customers to use when evaluating the quality of the soil and Home Lawn topics.
In accordance with the soil analysis test mix lime and a complete type fertilizer into the soil. Ornamental grass needs to have a soil condition where the pH is in the range of 6.0 to 8.0. Soil pH refers to the degree of acidity or alkalinity. If for some reason fertilizer is not incorporated with the site preparation a starter type fertilizer should be evenly spread over the area as the first item of step #2 (Laying Turf). Depending on the type of Sod Starter or Turf Starter fertilizer used they will have a recommended application rate published on the bag. Generic 16-16-16 type fertilizer can be used as an alternative and applied at approximately 4 pounds per 1000 square feet of area.
Level the soil by raking and filling in the low spots. Compaction of the site should be firm enough so that only a slight footprint remains if someone were to walk on the area the turf is to be installed. Final grade of the sub-soil area should be kept approximately 3/4 of an inch below patio, sidewalks and driveways.
Ensure the sub-soil has sufficient enough moisture to a depth of at least 3 inches so that the new turf root system is not stressed. The turf will establish itself into a cool moist soil condition much quicker and help to reduce the seams in turf from shrinking thereby causing gaps and the potential for weeds to get established in the bare exposed space.
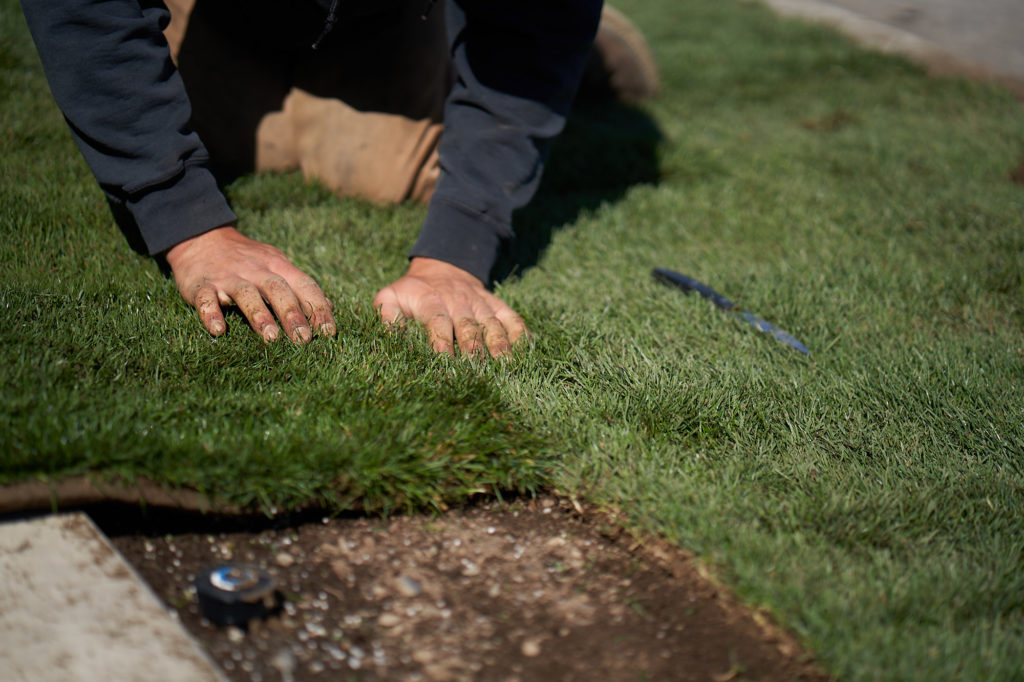
Step 2: Laying Your High-Quality Turf From Professional Turf Growers
Start with laying turf along the longest straight line. The butt ends of each roll laid are positioned so that they are pushed together with the successive roll in the same straight line. It is important not to stretch the rolls lengthwise like you could stretch a rubber band. The rolls that are laid in the straight line should be installed so that the ends of the rolls of turf are tight to each other. In trying to keep the turf seams close together it is important not to have one piece of turf to overlap an adjacent piece. We have seen various tools used to cut turf during installation. The most common used is a sharp serrated edge kitchen type knife to trim the ends or shaping the edges around other landscape features such as flowerbeds or trees.
It is important to stagger the joints of each joint as shown. Place pieces close together without overlapping or creating gaps. After the sod is installed, moisten the yard, but make sure the grass does not become soggy.
Stagger the start of each row of turf so that the resultant scheme resembles the appearance of a brick wall. Staggering the seams helps the turf to get established quicker. Ensure the adjacent rows are laid in a tight manner so that air cannot get in between the rows of the installed turf and cause the edges to dry out.
After installation, you should roll the area to smooth/level out any minor imperfections created by the installation plus ensure good contact exists between the sub-soil and the bottom of the turf.
In sloped areas begin laying your turf at the bottom and work your way up the slope. Steep slope installation should be accomplished by the rolls laying across the sloped area.
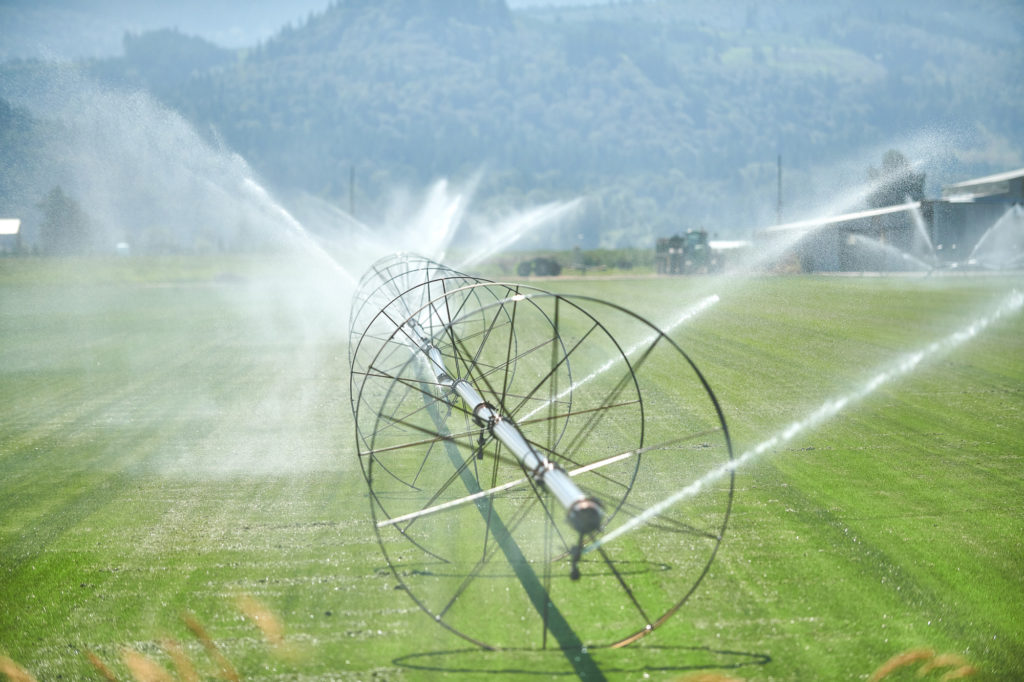
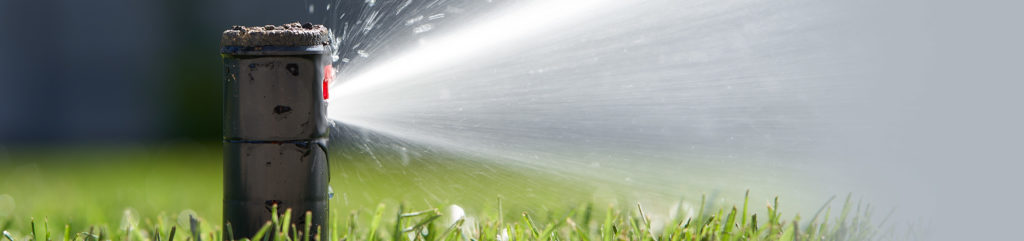
Step 3: Watering
Depending on weather conditions here in the northwest will determine a watering schedule. It is imperative that newly installed turf remains moist the first few weeks after it has been installed. Particularity during warm periods or days where the breeze is blowing the new turf may need frequent and short watering cycles because the root system is short and inefficient.
As a general rule the turf should be watered immediately after installation. For those hot summer days when installing new turf it is recommended that small areas be watered immediately after installation to ensure the grass is not caused heat stress. One should consider summer installation requiring approximately 1 inch of water daily for the first week. This requirement gradually reduced so that after approximately 2 weeks of time the rooted turf should only need approximately 1 inch of water per week.
Areas which are influenced by southern exposure generally reflect heat off the side of a building and or a fence thereby causing a need to require more watering because the turf close to these structures is susceptible to drying out sooner than that of the open area of the newly installed turf.
Step 4: Maintenance
The most important part of maintenance is to remember that Grass is a living plant that requires basic nutrition in the form of water and fertilizer to remain healthy. Not following these two simple tasks can cause your lawn to be stressed and then more susceptible to the two most common problems in lawn maintenance Weeds and Disease. Taking care of this investment in your new turf will retain the curb appeal of your property. Curb appeal then becomes first impression if you wanted to sell your property at some point in time. Remember FERTILIZE & WATER are the main factors associated with a healthy lawn!!
The time of the year and the growing conditions at the time of installation can influence when one should consider the first mowing. The best method we have found is trying to lift a corner of a turf roll in different locations. When there is resistance to lifting the turf it is established sufficiently enough for the first mowing. During optimum growing conditions this could be a quick as 7 days after installation.
Your basic 1st mowing rule should be not to remove any more than 1/3 of the grass leaf blade during a single mowing. Extra care should be taken during this mowing so that the maneuvering of the mower does not cause the sod’s root to be disturbed. The turf is not fragile but it should be allowed sufficient enough time to get established before significant lateral or shearing activity associated with recreation use.
Normal mowing practice should be to set your mower so that the cutting height is approximately one and half inches (1&1/2″) in length. Needles to say a well maintained mower with sharp blades is highly recommended to maintain the quality appearance of your new turf. The Perennial Rye grass we include in our seed blend is a very durable ornamental grass. Periodic sharpening to the mower blade should be done if in a day or so after mowing your grass ends reflect a white ripped appearance.

Step 5: Fertilization
Approximately one month after installation of your new turf it is recommended that either a sod starter fertilizer or a generic fertilizer that has equal amount of Nitrogen, Phosphorus and Potassium (16-16-16) should be applied and thoroughly watered. Subsequent need and fertilization schedule is directly related to the soil and climatic conditions. As a minimum we suggest 4-6 pounds of Nitrogen per 1,000 square feet divided in to 3-5 equal applications between Dec 1 and Oct 15. If your at your local nursery or lawn and garden supply store do not hesitate in asking questions if your unsure about what fertilizer you should be using so that you can get the 4-6 pounds of Nitrogen on an annual application to keep your lawn healthy. Because of the way that some fertilizer is package to include Phosphorous and Potassium with Nitrogen, you may need a total of 8-10 pounds of total fertilizer to achieve the 4-6 pounds of Nitrogen on an annual program need. This is all relative to what blend of fertilizer you have purchased.For property owner in the Lake Whatcom, Lake Padden and Lake Samish watershed areas they should comply with the policies established by county and city regulations. Current policy restricts not using Phosphorous in normal lawn fertilization, however new lawn areas that are less than a year old in age it is permissible to incorporate a complete fertilizer (Nitrogen, Phosphorus and Potassium). This exception to policy is stated in Whatcom County Code Title 16.32.060 and City of Bellingham Municipal Code 15.42.050 D (1).
Installation and Care FAQs
-
Turfgrass sod can be installed anytime of the year in the Pacific Northwest as long as the ground is not frozen. Spring and fall provide the best conditions for rooting. Summer months allow for installation of sod also but will require more water than during the cooler periods.
-
Sod is a perishable product and MUST be installed on the day of delivery.
-
Your lawn should be fertilized every 4 to 6 weeks during the growing season of February to November.
-
A slow release winterizing fertilizer is suggested or you can apply a 16-16-16 fertilizer. Follow the rate indicated by the manufacturer. We recommend winter fertilizing in November.
-
Keep the fertility rate up. Fertilizing on a regular basis keeps your lawn healthy. Fungus generally attacks unhealthy lawn.
-
Our sod requires a minimum of (4) hours of direct sunlight to survive. For shaded areas we recommend alternative landscape design be considered.
-
There is 480 square feet per pallet.